
How to Digitize Your Restaurant Menu in Minutes
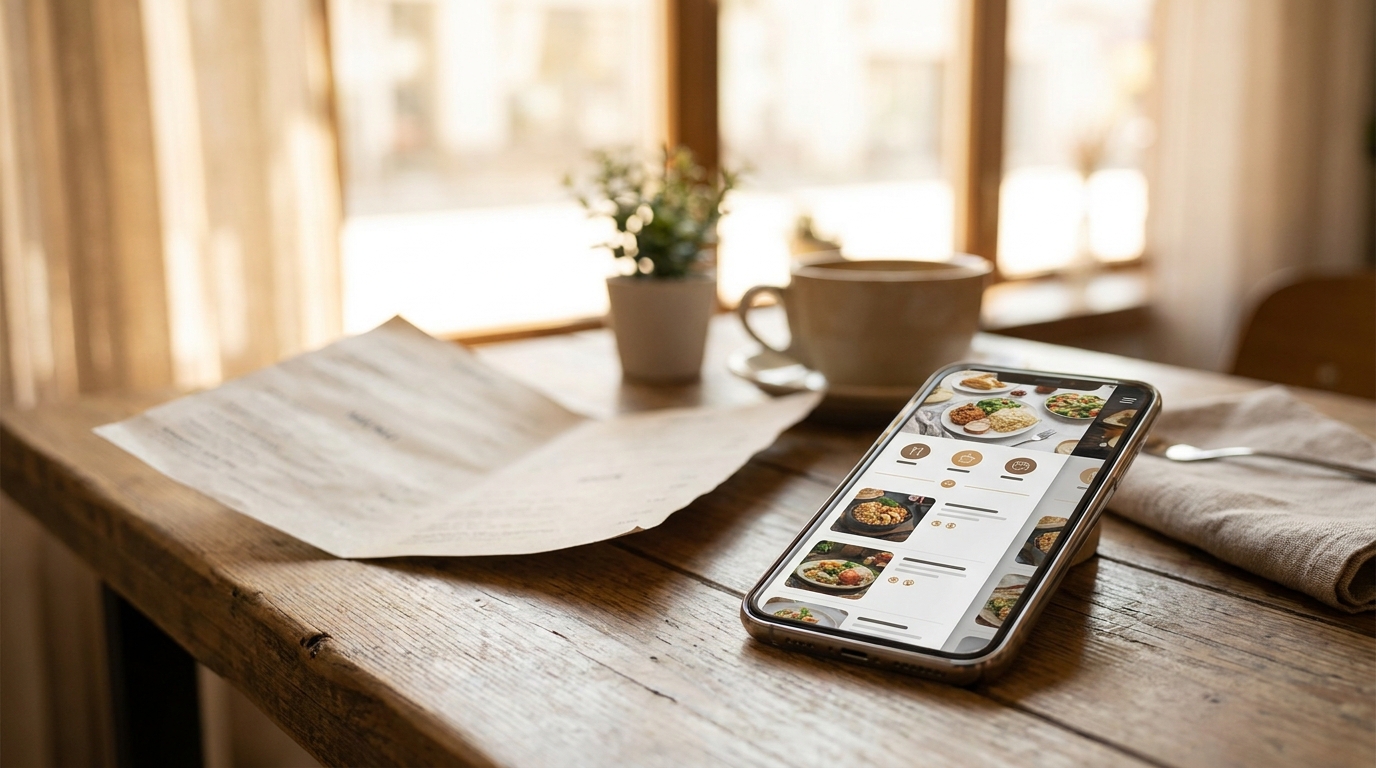
The slowest way to build a digital menu is to type ninety items into a blank screen. You already have a menu — on paper, in a PDF, in a spreadsheet — and the fastest path is to turn what exists into a draft and clean it up. Here are the three ways to digitize a restaurant menu, when to use each, and the review step that keeps prices from going live wrong.
TL;DR — Key Takeaways
Import, don't retype. A photo, PDF, or spreadsheet of your current menu becomes a structured draft in minutes — then you refine.
Photo and PDF import uses AI to read item names, prices, and categories off the page; best for menus you only have on paper.
Excel import is the cleanest when you already keep your menu in a spreadsheet, because the data is already separated into fields.
The review pass is non-negotiable: check every price and split-up name before you commit. Extraction is fast, not infallible.
Digitizing is step one, not the whole job— once items exist, you add photos, allergens, and translations on top.
Why "digitize" is different from "design"
Digitizing your menu means getting your dishes into the system as structured records — each item with a name, a price, and a category — so the platform can do digital things with them later: translate, filter, photograph, and update. It is deliberately separate from designing or decorating the menu. Get the data in first; make it beautiful second.
This matters because owners often stall at the wrong step. They open a menu builder, face a blank screen, and quit at item fifteen. The fix is to never start blank. Whatever form your menu is in right now is a usable starting point, and the job becomes editing — which is fast — instead of authoring, which is slow.
Method 1 — Import from a photo or PDF
If your menu only exists on paper or as a designed PDF, photo import is the fastest route. You upload clear images or a PDF, and the platform reads the page and extracts the items, prices, and categories into draft rows for you to approve. Under the hood this is an extraction pipeline — the page is turned into text, then parsed into menu fields.
The output quality depends almost entirely on the input. To get a clean read:
Shoot straight and bright. A flat, well-lit, head-on photo reads far better than an angled one in dim light. Natural light near a window works well.
One section in frame at a time for dense menus, so small print stays legible.
Mind the limits. Most importers cap the number of files, pages, and file size per upload, so split a long menu into a few clean uploads rather than one giant scan.
PDFs are fine— they are rendered to page images and read the same way, so a designer's PDF works as well as a photo.
This method shines for the classic case: a busy operator with a printed menu and no spreadsheet. In one sitting you go from a laminated page to a reviewable draft of your whole menu.
Method 2 — Import from Excel or CSV
If you already keep your menu in a spreadsheet — many kitchens do, for costing — this is the cleanest import of all, because your data is already in columns. You download the platform's template, drop your categories and items into the matching columns, and upload it. Because every field is already separated, there is far less to fix afterward than with a photo read.
Use this method when you are also doing a price overhaul or a seasonal rebuild: it is easy to sort, find-and-replace, and sanity-check prices in a spreadsheet before they ever touch the live menu. Keep your columns to what the template expects, and leave translations out of the file — those are generated inside the platform, not stored in your spreadsheet.
Method 3 — Enter items by hand
Manual entry still has its place: a short menu, a single new dish, a pop-up with a dozen items, or a concept you are designing from scratch. A focused new-item form walks you through the essentials — category, name, price, description, then diet and allergen tags — one dish at a time, and it gives you the most control over each record as you go.
For anything beyond ~15 items, though, lead with an import and use manual entry only for the stragglers the importer missed or for brand-new dishes. Your time is better spent reviewing than typing.
The review pass: where digitizing succeeds or fails
Whichever method you use, treat the result as a draft, and read it before it goes live. Extraction and imports are fast, but they are not perfect, and a menu is a place where small errors are expensive. Spend twenty focused minutes on:
Prices. The single most important check. A misread "8.00" as "3.00" is a real margin leak. Scan the price column top to bottom.
Split or merged names. Long dish names sometimes break across lines or two items merge into one. Fix these so each dish is its own clean record.
Category placement. Make sure each item landed in the right section; importers occasionally misfile an item under the wrong heading.
Duplicates. If you imported more than once, watch for the same dish appearing twice — clean duplicates out before launch.
Once it reads correctly, you commit the draft and your menu is live. Everything after this —photos, allergen tags, descriptions, and translations— is built on top of these records, so getting them clean now saves work later.
A realistic order of operations
1. Import your paper/PDF/Excel menu → draft rows
2. Review prices, names, and categories → commit
3. Organize categories and item order
4. Enrich with descriptions, photos, allergens
5. Translate, then generate your QR code and go live
Steps 1–2 are the "digitize" job and are genuinely quick. Steps 3–5 are where a working menu becomes a selling menu, and they are covered across the rest of this cluster, starting with the complete guide to creating a digital menu.
Which import method should you choose?
The right method depends entirely on what you already have, so use this quick guide:
You only have a printed menu or a designer's PDF → use photo/PDF import. It reads the page for you and you review. This is the most common case and the biggest time-saver, because you skip authoring entirely.
You keep your menu (or your costings) in a spreadsheet → use the Excel template. Your data is already in columns, so there is the least to fix afterward, and it is ideal during a price overhaul where you want to sort and sanity-check before anything goes live.
You're launching a brand-new or very short menu → enter items by hand. For a dozen dishes or a concept you are still designing, the new-item form gives you the most control with little overhead.
You have a mix → lead with the import that covers most of your menu, then hand-add the stragglers and any brand-new dishes the importer never saw.
Whatever you choose, the finish line is identical: a reviewed, committed menu live behind a QR code, ready for you to layer on photos, tags, and translations. The method only changes how fast you get to that starting line — and for any menu you already have on paper or in a sheet, importing gets you there in a fraction of the time of typing.
What digitizing your menu unlocks
Getting your menu into structured form is not the goal in itself — it is the key that unlocks everything else a modern menu can do, and it helps to know what you are working toward. Once your dishes exist as data rather than ink, you can update a price and have it live on every table on the next scan, with no reprint and no sticker over the old number. You can let guests filter the menu to what is vegetarian or free of a given allergen. You can translate the whole thing into the languages your guests actually speak, and attach a photo to the dishes that need one and watch their orders climb.
For the first time you can also see which dishes guests look at and which they order, so your next menu change is informed by evidence instead of a hunch. None of that is possible while your menu lives only on paper or as a flat PDF. Digitizing is simply the doorway — a quick, one-time job that turns a static page into a living asset you can improve every week. That is why it is worth doing properly, and worth doing first: every other improvement in this cluster is built on top of clean, structured menu data.
Common menu-digitizing mistakes
Uploading a blurry, angled photo and trusting the result. Garbage in, garbage out — reshoot it straight and bright.
Skipping the price review. It is the one error guests and your margins both feel immediately.
Treating the import as final. It is a draft. The value is in the quick clean-up, not in pretending the machine got everything right.
Stuffing translations into your spreadsheet. Languages are generated and managed in the platform; keep the import file single-language.
Manually typing a 90-item menu when a photo would have done it in a fraction of the time.
Digitize your menu free with Intermenu
Intermenu digitizes your menu the way that fits what you already have: import a photo or PDF and let it read the items, drop in an Excel file, or add dishes by hand — then review, commit, and you are live behind a QR code. From there you can photograph, tag, and translate every dish without ever touching a reprint.
Digitize your menu free with Intermenu →
Frequently Asked Questions
How do I digitize my restaurant menu?
Import what you already have. Upload a clear photo or PDF and let the platform extract the items, or upload a spreadsheet using the provided template. Review the prices and names, commit the draft, and your menu is live — typically the same day.
Can I turn a PDF menu into a digital menu?
Yes. A PDF is rendered into page images and read the same way a photo is, so the items, prices, and categories are extracted into editable rows. This is far better than simply linking the PDF, because you end up with structured data you can translate, filter, and update.
Is menu import accurate?
It is fast and usually very good, but not flawless — which is why every import is a draft you review. Budget a short pass to check prices, fix any split names, and confirm categories before you publish.
How long does it take to digitize a menu?
A typical menu goes from photo to reviewable draft in a few minutes, and to live in under an hour once you have checked it. Enriching it with photos and translations is a separate, ongoing pass.
Do I need to type my menu into the system?
Only for short menus or brand-new dishes. For an existing menu of any size, import from a photo, PDF, or spreadsheet and use manual entry just for clean-up.